

Step 1: Navigate to the Events Dashboard
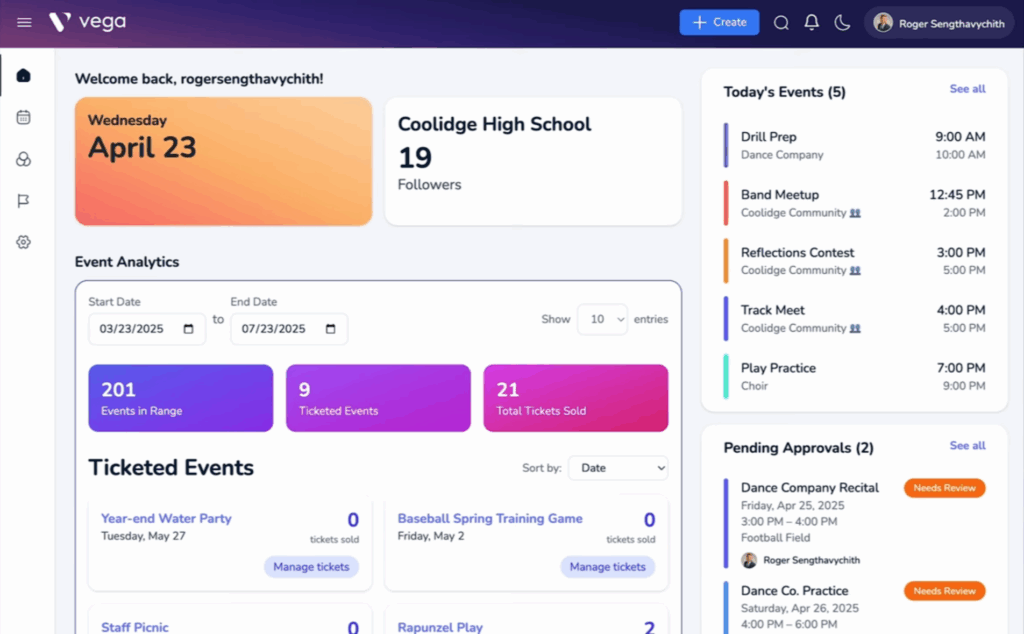
Log in to your Vega admin dashboard and click on the “Events” tab in the sidebar. This is your central hub for creating and managing events.
Step 2: Select “Create Event”
Once in the Events dashboard, Select the “+ Create” button. This opens the event creation form where you’ll enter all the details of your event.
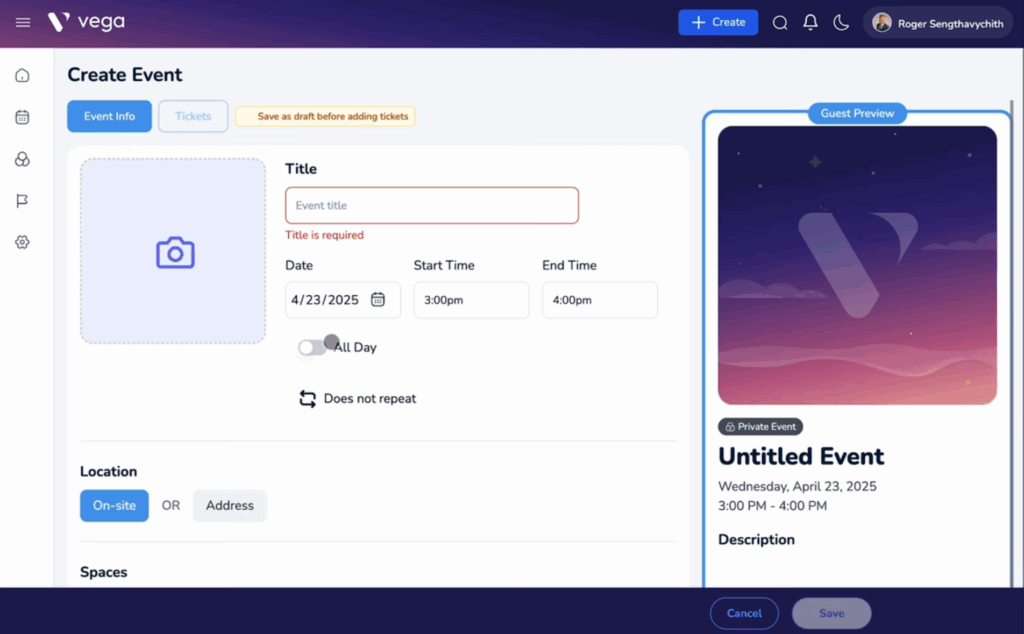
Step 3: Fill in Event Details
-
- Title & Description – Name your event and add a short description.
- Date & Time – Choose a date, start/end time, or mark it as an all-day event.
- Recurring – Set it to repeat daily, weekly, or custom.
- Photo – Upload an image to represent your event.
- Location & Spaces – Add an address or assign available spaces.
- Conflict Checker – See if any space or time conflicts exist.
- Privacy Settings – Make the event public or private.
- Group Notifications – Select groups to notify about the event.
- Admins & Collaborators – Add others to help manage the event.
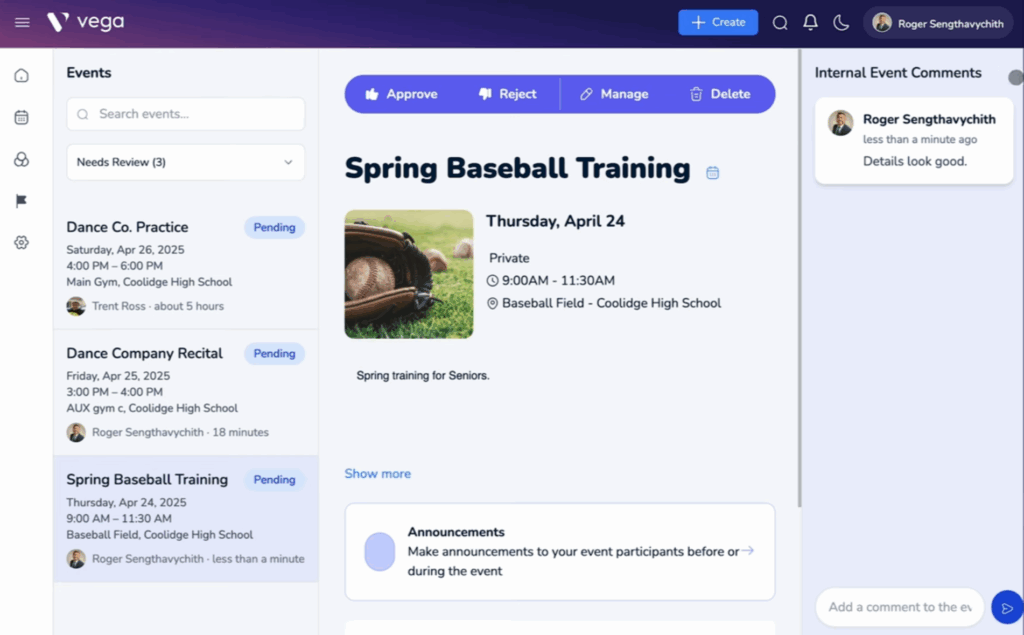
Step 4: Publish and Manage
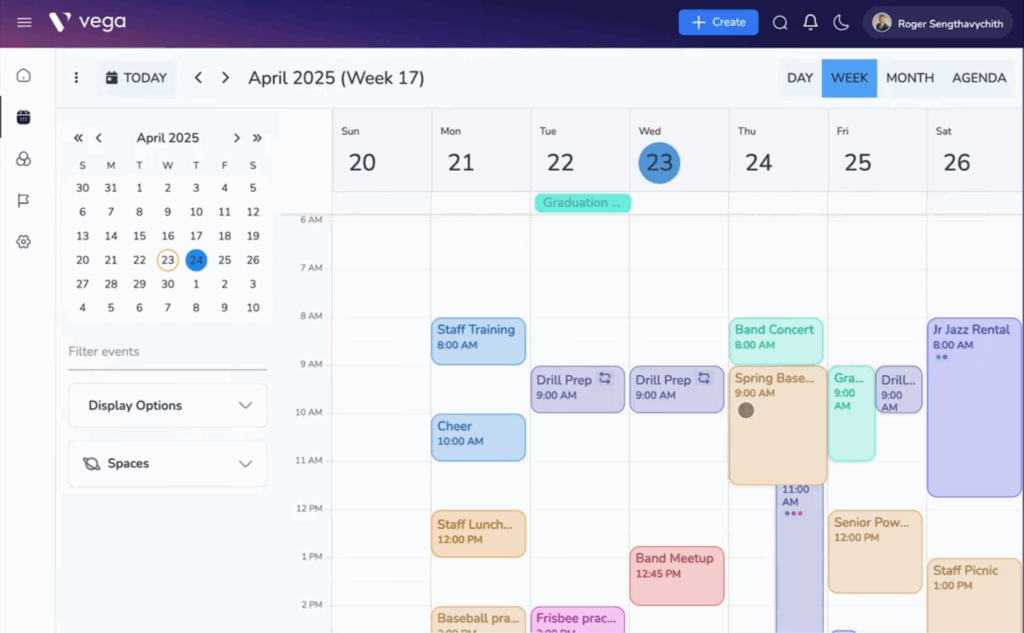
After saving your event, it will appear on your calendar/events tab. From here, you can manage tickets, communicate via internal event comments, and update event details.
You’re now ready to create and manage events like a pro using Vega. If you need to make updates, track attendance, or manage ticketing, everything is just a few clicks away. For more tips, check out our other help articles or reach out to our support team anytime.